Easy High Hydration Sourdough Bread Recipe: A Beginner-Friendly Guide
There’s something magical about baking your own sourdough bread—watching your dough transform, feeling the texture, and savoring that fresh-out-of-the-oven smell. If you’ve ever thought about giving high hydration sourdough bread a try, this is your sign to go for it! With a little patience, mindfulness, and the right recipe, you can create a delicious, high-hydration sourdough loaf that’s both healthier and more flavorful than store-bought bread.
In this blog post, I’m sharing my personal journey with sourdough, the essentials to get started, and an easy-to-follow recipe for high-hydration sourdough bread.
Starting Your High Hydration Sourdough Bread Journey
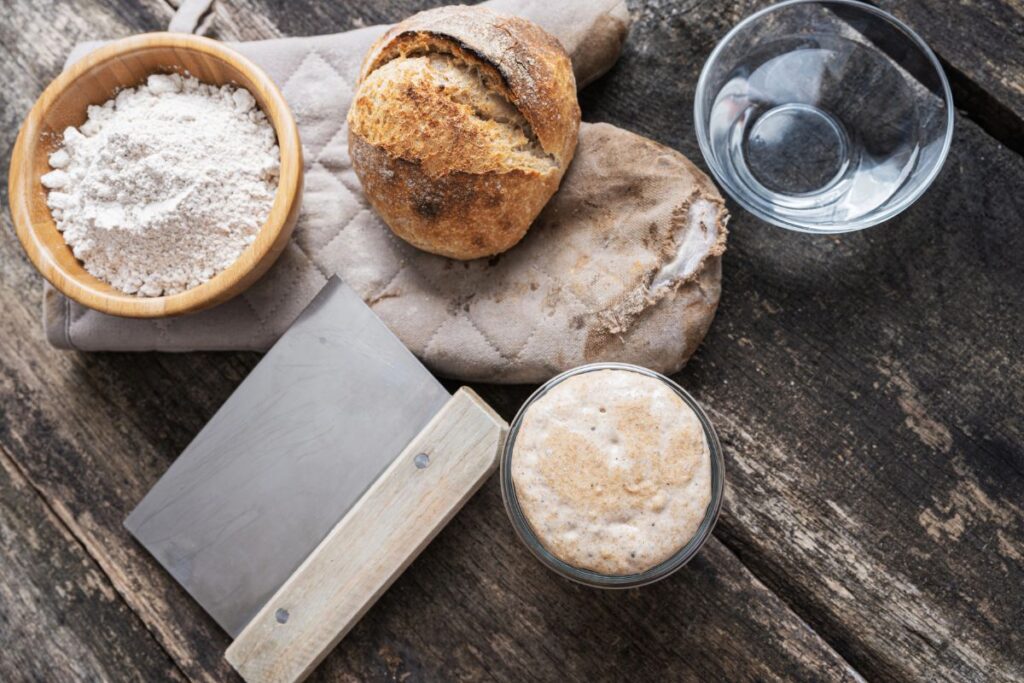
The first step in making sourdough is the starter—a living mixture of flour and water that’s essential for fermentation. After some research, I got mine from @kensingtonsourdough, and I’m so glad I did. They provide step-by-step instructions on how to bring your starter to life and keep it thriving.
Pro tip: You can buy an active starter, but going through the process of feeding and maintaining your own is a lesson in patience and mindfulness. There’s something deeply rewarding about nurturing your starter to life—if you know, you know. 🥹

What Is High-Hydration Sourdough Bread?
High-hydration sourdough bread refers to a dough with a higher water-to-flour ratio compared to standard sourdough recipes. In general, a dough is considered “high hydration” when the water content exceeds 70% of the total flour weight. For example, in this recipe, the ratio of water to flour is about 75%, making it a high-hydration dough.
This extra water in the dough creates a number of distinct characteristics:
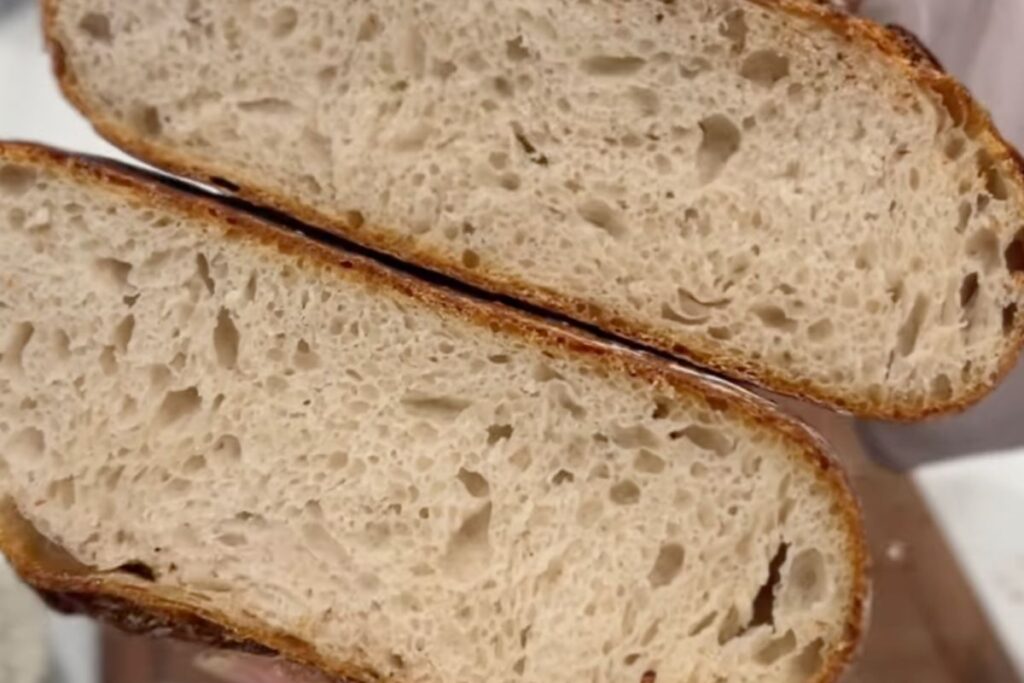
- Open Crumb Texture: High hydration doughs produce bread with a beautifully open crumb, characterized by large, irregular holes throughout the loaf.
- Soft, Chewy Crust: While still crisp, the crust tends to have a more elastic and less brittle texture compared to lower-hydration bread.
- Enhanced Flavor: The additional moisture encourages fermentation, leading to a more complex, tangy flavor profile.
- Moist Interior: The higher water content results in a moist, tender crumb that stays fresher longer.
However, working with high-hydration dough can be challenging, especially for beginners. The dough is often stickier and harder to handle than lower-hydration doughs, requiring a gentler touch and some patience. Techniques like folding and resting (rather than kneading) help develop the gluten and structure without overworking the dough.
If you’re looking to elevate your sourdough baking skills, mastering a high-hydration recipe is a rewarding next step. The results—a tender, airy loaf with a crisp crust—are well worth the effort!
Tools Needed for High Hydration Sourdough Bread
When I started, I had no special tools—just a regular cake pan and a handful of ice cubes to throw in the oven for steam. (If you’re curious, search for “no-knead sourdough recipe” on YouTube—it’s a game-changer for beginners!)
Once I committed to the sourdough life, I invested in a Dutch oven, which I highly recommend for consistent results. Everything I use is linked in the Bread Highlight on my Instagram page if you’re looking for recommendations. I’ve also included the links below for your convenience.
How to Make High Hydration Sourdough Bread
This recipe is inspired by Artisan Sourdough Made Simple by Emilie Rafa. The steps to make high hydration sourdough bread are super simple and easy- all you need is patience and a willingness to learn and keep going.
1. Make the Dough:
Combine the starter and warm water in a large bowl, then mix in the flour and salt until a rough dough forms. Let it rest for 1 hour under a damp towel. After resting, knead the dough briefly to form a smooth ball.

2. Bulk Rise:
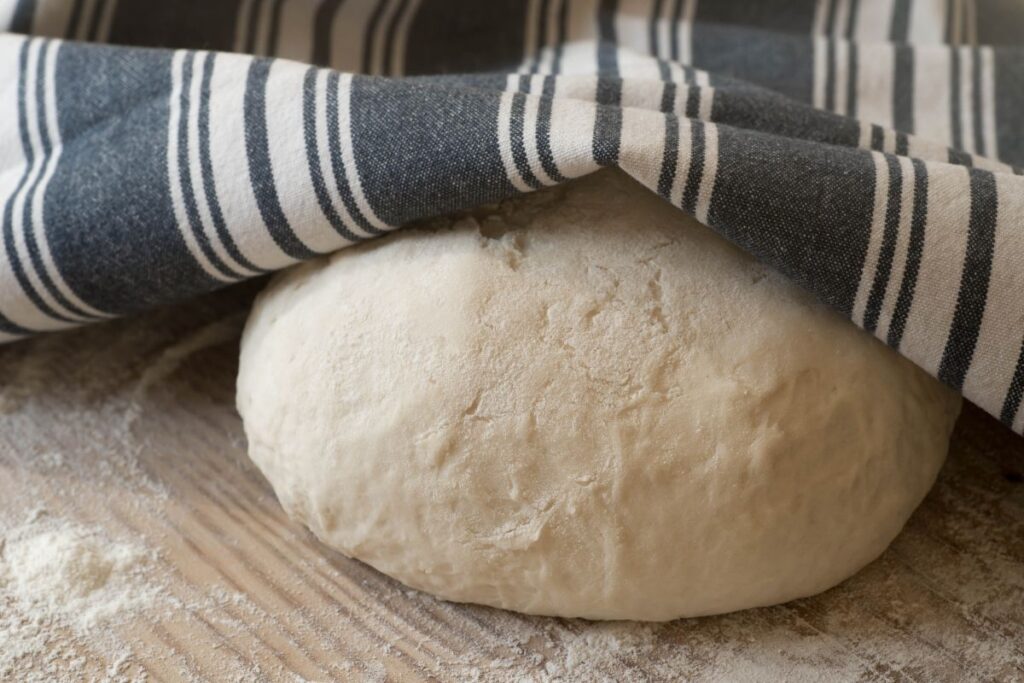
Cover the dough with a damp towel and leave it to rise overnight at room temperature (8–10 hours at 70°F/21°C) until it doubles in size, develops surface bubbles, and jiggles when moved.
3. Shape the Dough:
In the morning, dimple the dough on a floured surface and shape it into a round. Let it rest briefly, then transfer it to a lined, floured proofing basket, seam-side up. Cover and refrigerate for 1 hour or up to 6 hours for flexibility.

4. Preheat & Score:
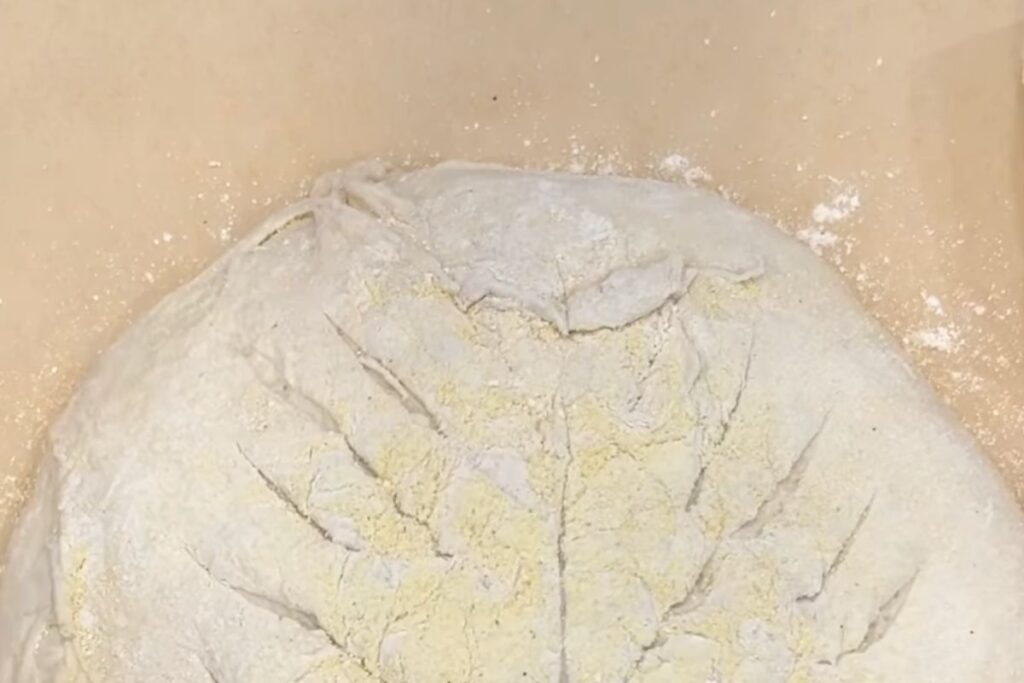
Preheat the oven to 500°F (260°C) and prepare parchment paper for the baking pot. Invert the dough onto the parchment, dust with flour, and score the surface with a knife or razor blade.
5. Bake the Bread:
Bake the dough in a covered pot at 450°F (230°C) for 20 minutes. Remove the lid and bake for an additional 30 minutes. For a crisp crust, finish by baking the loaf directly on the oven rack for the last 10 minutes. Cool on a wire rack before slicing.

Why Bake High Hydration Sourdough Bread at Home?
Baking sourdough at home is more than just creating bread—it’s a journey of mindfulness, creativity, and nourishment. Unlike store-bought bread, homemade sourdough is free of unnecessary preservatives and packed with natural probiotics, making it a healthier choice for you and your family. Its deep, tangy flavor and chewy texture make every bite feel special, whether it’s paired with butter, jam, or a hearty soup.
Beyond the nutritional benefits, baking sourdough offers a chance to slow down and connect with the art of making food from scratch. From nurturing your starter to watching your dough rise, the process is incredibly rewarding. It fosters patience and creativity while giving you the satisfaction of creating something entirely your own.
If you’re new to sourdough, I highly recommend Artisan Sourdough Made Simple by Emilie Raffa. It’s packed with clear instructions and approachable recipes, making it an invaluable resource for beginners and a delightful guide for seasoned bakers. Whether you’re looking to elevate your meals, try a new hobby, or enjoy the meditative act of baking, this easy, high hydration sourdough recipe is the perfect place to start.
So, what are you waiting for? Dust off your mixing bowl, grab your starter, and dive into the world of sourdough baking. There’s no better time to experience the joy of creating something from scratch. Trust me—once you taste the fruits of your labor, you’ll wonder why you didn’t start sooner. Your future self (and your taste buds) will thank you!
If you try this recipe, don’t forget to share a photo with me and leave a comment below! Interested in trying out more of my recipes? Check out my recipes for authentic Aushak, Afghan dumplings.

Easy High Hydration Sourdough Bread Recipe
Ingredients
- 50 g ¼ cup bubbly, active sourdough starter I got mine from @kensingtonsourdough
- 375 g 1½ cups + 1 tbsp warm water
- 500 g 4 cups + 2 tbsp bread flour
- 9 g 1½ tsp fine sea salt
Instructions
Make the Dough
- In the evening, whisk the starter and warm water together in a large bowl.
- Add the flour and salt, mixing until combined. Use your hands to form a rough dough.
- Cover with a damp towel and let rest for 1 hour.
- Replenish your starter with fresh flour and water for storage.
- After the dough has rested, work it into a smooth ball for about 15–20 seconds.
Bulk Rise
- Cover the bowl with a damp towel and let it rise overnight at room temperature (8–10 hours at 70°F/21°C).
- The dough is ready when it doubles in size, shows surface bubbles, and jiggles when the bowl moves.
Shape the Dough
- In the morning, transfer the dough to a floured surface and dimple it gently with floured fingertips.
- Shape it into a round and let it rest for 5–10 minutes.
- Meanwhile, line a bowl or proofing basket with a floured towel.
- Use a bench scraper to flip the dough smooth side down, shape it again, and place it into the lined bowl seam-side up. Cover and refrigerate for 1 hour (or up to 6 hours for more flexibility).
Preheat & Score
- Preheat your oven to 500°F (260°C). Cut a piece of parchment paper to fit your baking pot.
- Invert the bowl to release the dough onto the parchment. Dust with flour and score with a knife or razor blade in your desired pattern.
- Bake the Bread
- Transfer the dough (using the parchment) into your baking pot. Place the pot on the center oven rack.
- Reduce the heat to 450°F (230°C) and bake for 20 minutes with the lid on.
- Remove the lid and bake for another 30 minutes.
- For a crispier crust, lift the loaf out of the pot and bake directly on the oven rack for the final 10 minutes.


